Do you ever look at a view and wish you could tweak it just a little to get exactly the data you want to see? In this blog post, I’m going to walk you through creating an advanced find that you can then save as a custom view.
What is a view? A view, simply speaking, is just a list of data that is defined by columns and filters.
Out of the box, Dynamics CRM provides several useful views for the OOB entities like opportunities, leads, etc. Let’s take a look at the view “Open Opportunities” and modify it some so you can see how powerful and easy advanced finds are.
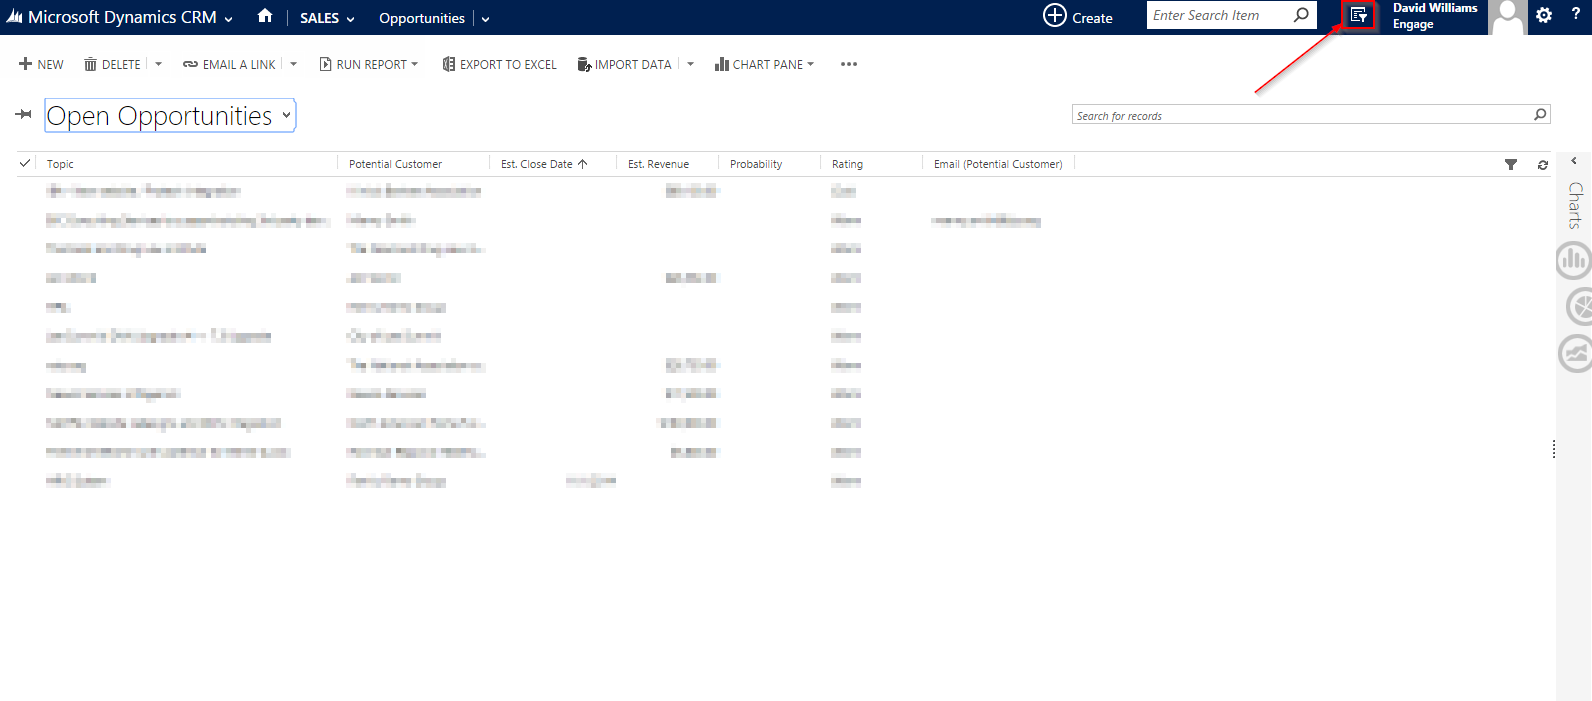
If you click the “advanced find” button I have outlined in red, you’ll get a pop-up box that shows the filter criteria that “Open Opportunities” currently has defined.

To add additional filter criteria to this view, we will need to click the details button like I demonstrate in the next screenshot. Without details selected, you won’t get the option to modify the view.

Next, I’m going to add an additional filter criteria that says I want to only see opportunities, that are open AND belong to Jason Stone. To accomplish this, I pick the field “Owner”, I set the value to “Equals”, and I choose Jason Stone from a lookup field like shown below. Finally, I click the little down arrow next to the word “Status” and “Owner” and select both rows. This will highlight both filters, where I will finally click “Group AND”.

I encourage you to give this a try. Once you get the hang of it, you’ll be able to create views and get exactly the data you want quickly. As always, feel free to contact me in the comments below if you need any help! Happy CRM’ing J