
Microsoft Dynamics CRM has recently released update 1, and with this update comes a ton of great new features. I’m going to be writing about several of these over the coming weeks. The first thing I want to write about however is theming.
What can I change in the UI?
1. Logo
2. Logo Tooltip
3. Navigation Bar Color
4. Navigation Bar Shelf Color
5. Header Color
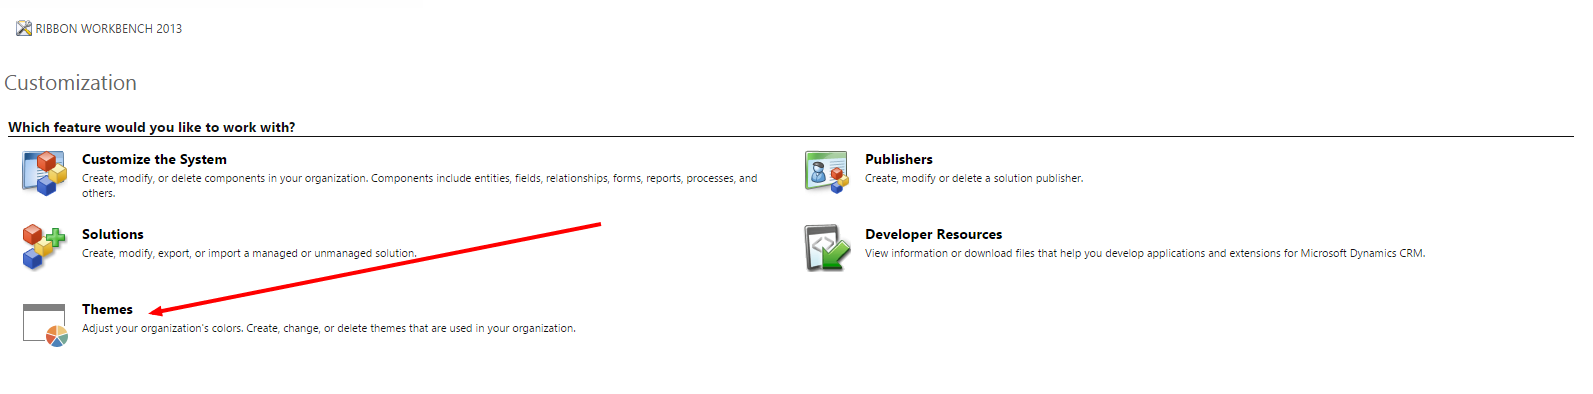
How to modify your theme
It’s easy to get the ball rolling on your new theme. If you’re like me, you probably just want to dive right in and start changing things to see how they look. To do this, follow the steps below:
1. Go to Settings -> Customizations
2. Click “Themes”
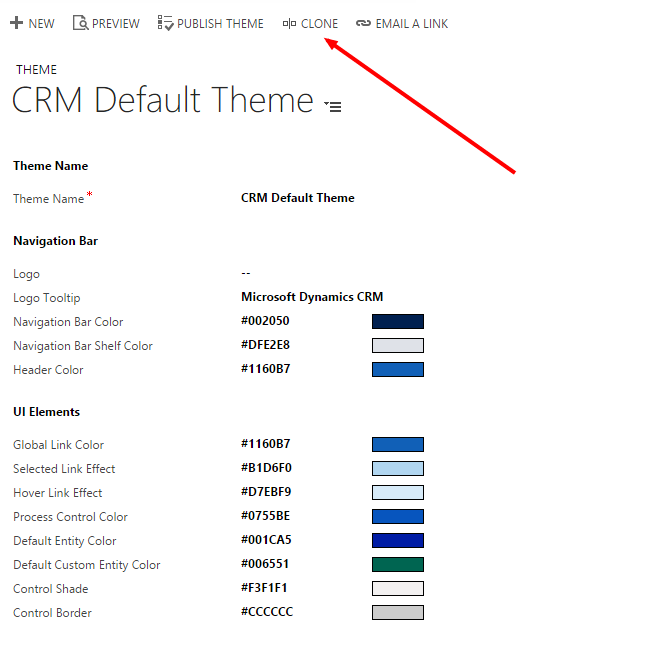
3. Either make a new theme, or start from an existing theme. I usually prefer to start from the default theme because I may only want to add a logo or change one color, as opposed to inventing a desirable color for every customizable option.

4. If you clicked the CRM default theme to start with, as I suggested, you’ll notice that you can’t immediately modify any of the colors. What you need to do at this point is “Clone” the theme and give it your own name. All this does is carry over the existing colors.
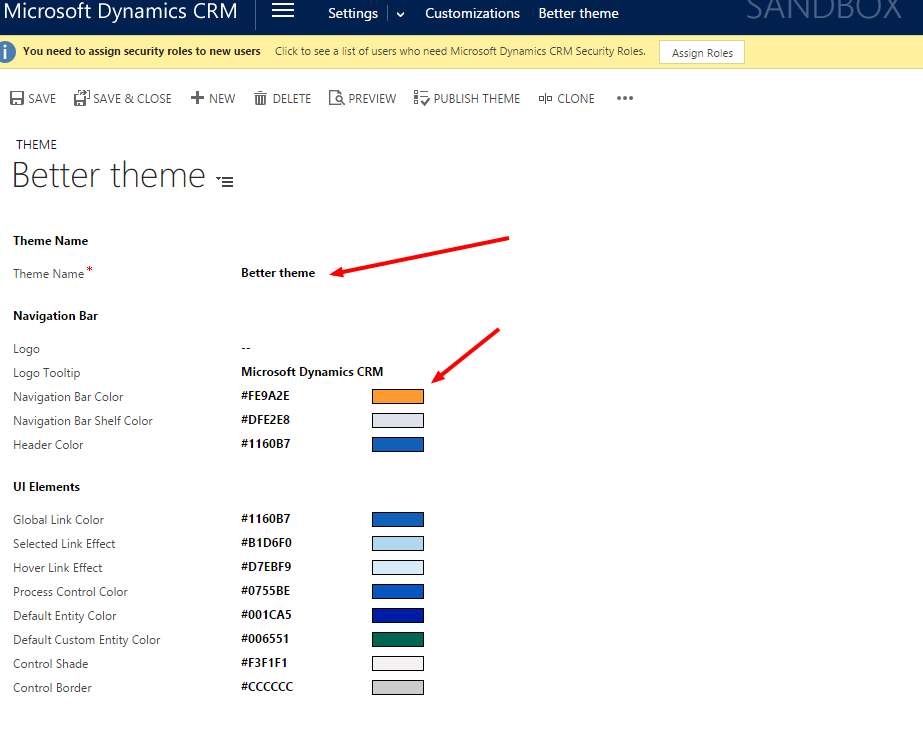
5. After you click clone, you’ll be presented with a similar image like step 4. Here you need to edit the theme name to something that makes sense. In the example screenshot below, I named mine “Better Theme”. My goal with these particular theme was to simply change the navigation bar to a yellow/orange color for the sandbox instance. As a developer who has worked with Dynamics for a while now, I get nervous if I see blue in the navigation bar, because I think I am in the production instance making changes.
6. After you make the changes you want, just click Save and then “Publish Theme”.
That’s it! You are now a Theme master! The example I provided was a simple one. If I were to do a serious redesign for a client I would try to match most of the colors with their existing website, as well as add a company logo.
I think the theming system is a great step in the right direction. In the future, I hope to see even more customization options like allowing font and size changes for text on custom entities. Stay tuned for more posts coming soon. Happy CRM’ing!